There’s a moment every cinematographer experiences: when you realize that lighting is more than just making sure the audience can see what’s happening. Movie lighting is about storytelling, shaping scenes and characters long before a single line of dialogue is spoken.
If the camera is the eye, then light is the soul. In today’s blog we’ll explore how to shape your scenes with intention, focusing on emotional impact and narrative choices. We’ll even throw in some advice on advanced lighting techniques you can use to make your movie sing.
Lights, camera, and well… more lights!
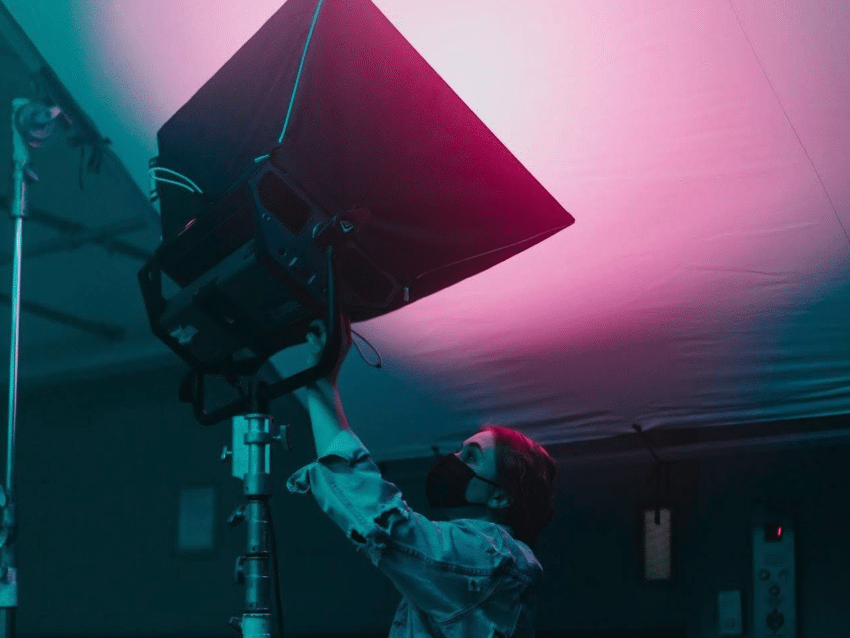
Table of Contents
- Light as a Storyteller
- The Fundamentals of Film Lighting
- The Narrative Choice
- The Emotional Impact
- Advanced Lighting Techniques
- Examples of Lighting in Film
- The Crew Behind the Light
- Planning Your Light
- FAQs
- Conclusion
Light as a Storyteller
Think of your favorite movie moment. Maybe it’s the hazy warmth of Call Me by Your Name, the noir of Blade Runner, or the shadows in Hitchcock’s classic suspense movies. Each look is a visual language that tells the audience how to feel before they understand what’s happening.
So, what can light do? Well, it can…
- Reveal or conceal emotion
- Make characters feel safe or isolated
- Suggest time, place, and weather without a single establishing shot
- Shift the genre instantly (soft daylight romance vs. harsh crime thriller is often just a matter of lighting)
The question all cinematographers should ask themselves is this:
What is the story I’m telling with this light?
The Fundamentals of Film Lighting
Okay, so before we dive further into creative expression, we need to talk about the core of most lighting setups: 3-point lighting! As the name suggests, there are three core elements:
1. Key Light
This is your primary light source and defines the subject’s shape. Think of it as the sun in your fictional universe.
2. Fill Light
The fill light softens or controls the shadows created by the key light. No fill light? You’ve got drama. Strong full? You’ve got a clear picture and balance.
3. Backlight (or Rim Light)
Placed behind the subject, it separates them from the background, adding visual depth and preventing the dreaded cardboard cutout look.
This structure is your foundation. But like a chef who learns knife skills before reinventing cuisine, once you know the rules, you’re ready to break them.
There are so many different types of light you can use. Check out Rosco’s comprehensive list here.
The Narrative Choice
How do our lighting choices impact how scenes appear to an audience and how they react to them?
Let’s take a closer look:
Hard vs. Soft Light
Here’s where decisions begin to shape storytelling.
| Hard Light | Soft Light |
| Sharp shadows | Gentle shadows |
| Reveals texture | Smooths texture |
| Tense, raw, harsh moods | Warm, intimate, dreamy moods |
| Associated with thrillers, crime films, and realism | Associated with romance, drama, and fantasy |
With hard light, think interrogation rooms, noir alleyways, or desert Westerns. It exposes flaws, creating contrast and unease. It really doesn’t let characters hide.
Soft light, on the other hand, makes faces glow. It whispers connection, vulnerability, and beauty. You’ll tend to find it used in coming-of-age films, period romances, and heart-to-heart moments.
So, when you’re choosing to use hard or soft light, ask yourself what the audience should feel when they look at a scene in that particular moment.
The Emotional Impact
Some lighting styles are used for specific purposes. Take high-key and low-key lighting. These two styles are less about the quality of light and more about the ratio of brightness to shadow aka the mood of the scene.
High-key lighting is:
- Bright overall
- Minimal shadows
- Even lighting
- Feels open, clean, and optimistic
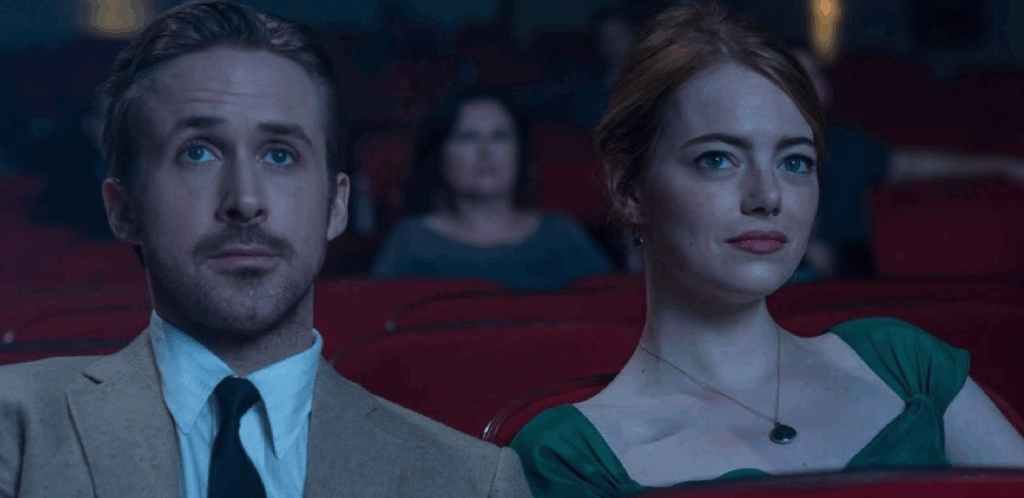
You’ll usually see high-key lighting used in sitcoms, commercials, musical numbers and romance movies. Just like the pastel glow of La La Land.
Whereas low-key lighting is:
- Strong shadows
- High contrast
- Focused illumination
- Feels tense, dramatic, intimate, or dangerous
You’ll see low-key lighting used in thrillers, noir, horror, and psychological narratives. Think the shadow-drenched world of Se7en or The Godfather.
Advanced Lighting Techniques
Once you’ve mastered the basics and understand how lights impact the emotion of a scene, it’s time to go deeper and add the nuance that separates technically competent lighting from cinematic lighting.
Motivated Lighting
This is lighting that looks like it comes from a natural source in the scene, even if it’s actually coming from your light kit.
Examples of motivated lighting include:
- A sunlight shaft that is actually a 2K fresnel through diffusion
- Candlelight that is actually hidden LED pin lights
- A refrigerator glow that is actually a small practical panel tucked inside
- If the audience believes the light belongs, they stay immersed in the story.
Practical Lighting
These are visible light sources within the frame like:
- Lamps
- Streetlights
- TV screens
- Neon signs
Not only do they add realism, but they can also justify more stylized lighting choices. A neon bar sign, for example, is a perfect excuse for dramatic color contrast.
Chiaroscuro
Borrowed from Renaissance painting, this is the art of deep shadow vs. strong directional light. It sculpts depth. It tells visual secrets. It’s the language of mystery and is used famously in:
- Caravaggio paintings
- Film Noir
- The Batman (2022)
- The Godfather (1974)
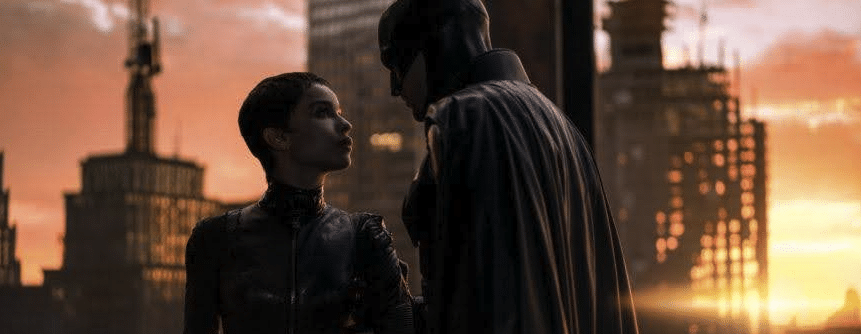
Chiaroscuro whispers, “Only part of the truth is visible.”
Cinematographer Stephen H. Burum discusses how he lights a set in this informative article from The ASC.
Examples of Lighting in Film
To really understand lighting, it helps to see how different filmmakers use it to shape narrative, character, and mood. Here are some standout examples across genres and eras:
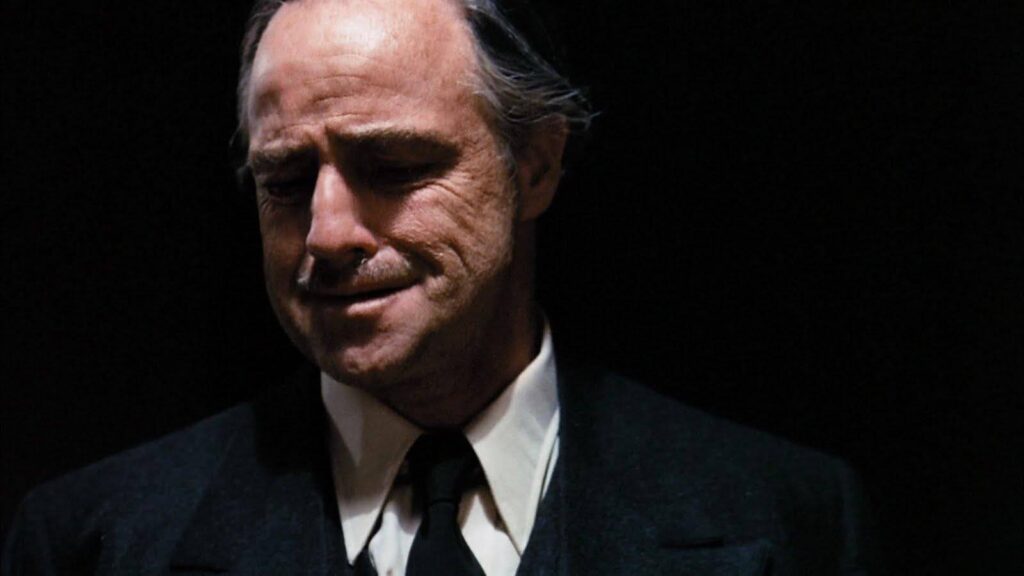
Example #1 | The Godfather (1972)
In The Godfather, characters often sit partially swallowed in shadow. Don Corleone’s eyes are notably dark, obscured, and unreadable. This was deliberate, conveying authority, secrecy, and danger in a subtle manner.
The lighting reinforces the story’s themes of hidden power and internal darkness. We aren’t supposed to fully see these men because no one truly can.
Example #2 | La La Land (2016)
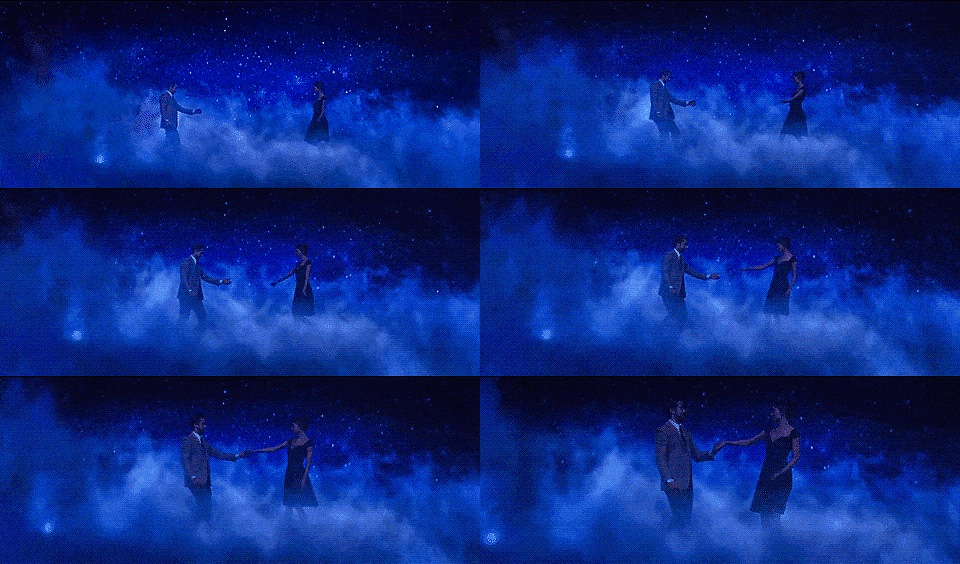
Cinematographer, Linus Sandgren uses bold color and soft lighting to create a world that feels just a step outside of reality. The soft light creates a dream-like atmosphere.
Key example: The planetarium dance scene isn’t lit realistically, but emotionally. The scene asks us to feel wonder, not worry about where the light is coming from. The combination of softness and color communicates romance, nostalgia, and idealism, which is the emotional core of the story.
Example #3 | Blade Runner 2049 (2017)
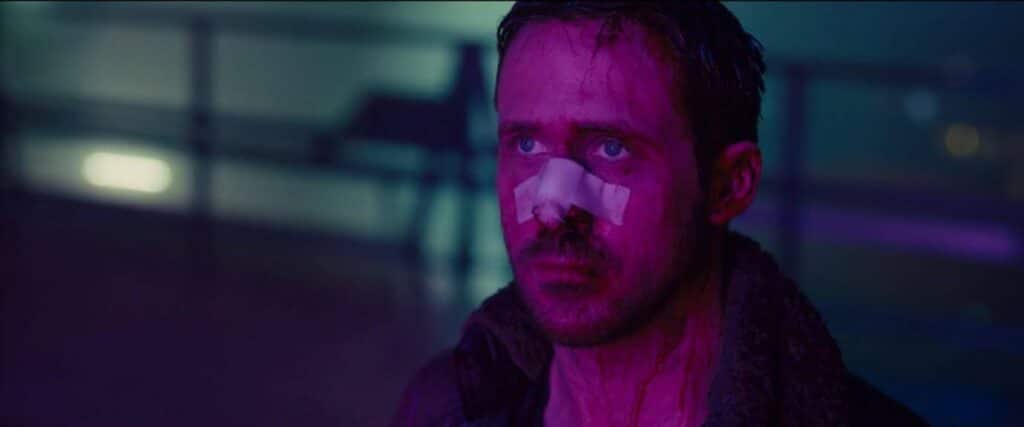
Throughout the film, cinematographer Roger Deakins creates entire worlds through light: toxic industrial yellows, cold sterile blues, post-apocalyptic oranges. Each environment feels both alive and oppressive with sculpted, intentional, and atmospheric light.
The way scenes are lit tells us who belongs where, and who doesn’t, before characters speak.
Example #4 | Moonlight (2016)
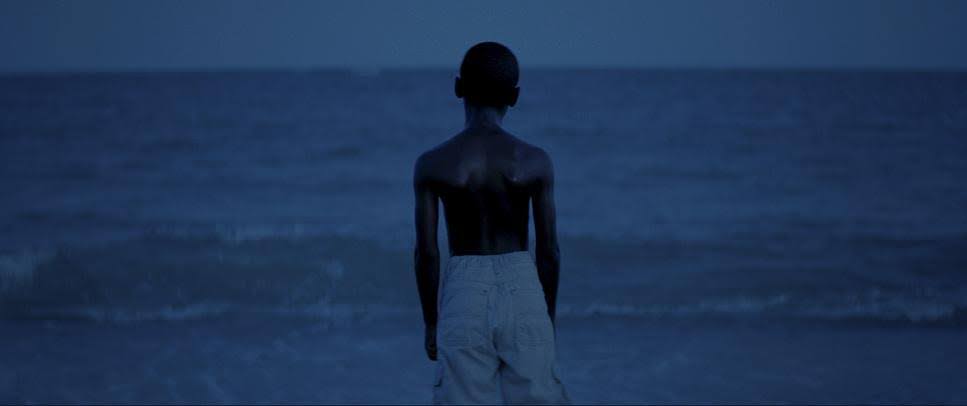
Moonlight’s James Laxton uses shifting tones of blue and warm sodium streetlight to express longing, internal conflict, and vulnerability. Characters are held and shaped by the light.
A great example during the movie is the ocean teaching scene. Soft blue daylight embraces the characters, telling us this is a safe emotional space. The light whispers what the characters cannot yet say aloud.
Example #5 | No Country for Old Men (2007)
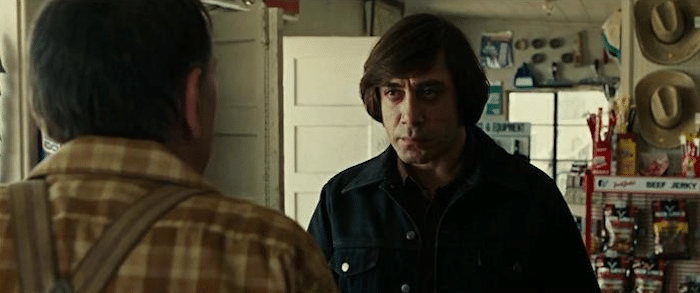
Another Roger Deakins movie, yet this time he uses motivated and practical sources from lamps and headlights to window lights, to create a haunting, naturalistic tone.
For example, during the gas station scene, he uses overhead fluorescents and no fill light. Shadows are harsh, the air feels stale, and danger buzzes under every silence. This lighting is simple but emotionally loaded. Tension comes from what feels missing.
Roger Deakins discusses his secret to cinematic lighting here:
The Crew Behind the Light
A cinematographer doesn’t light alone; lighting is a team sport. Let’s take a look at some of the people who make up that team.
The Gaffer
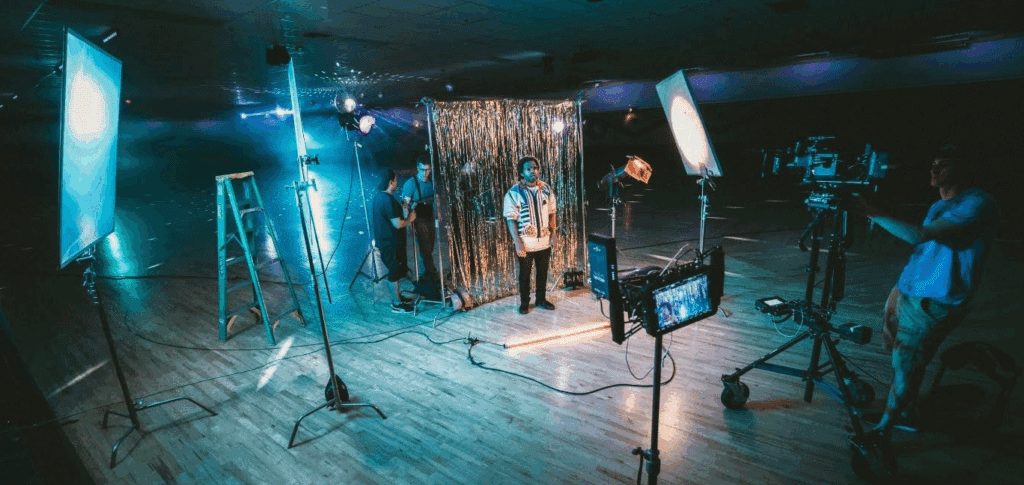
The gaffer is the chief lighting technician, the one who makes your lighting plan real. They translate the DP’s vision into physical setups using grip, rigging, electrical know-how, and deep on-set experience.
In short, the cinematographer imagines the light while the gaffer builds the light.
The Best Boy
The best boy is the gaffer’s second-in-command, managing crew organization, logistics, equipment rentals, and workflow. Without them, the set falls into chaos.
Planning Your Light
Lighting isn’t something you figure out once the camera is rolling. Good lighting is 90% preparation and 10% execution. The more you plan, the more freedom you have on set to be creative, solve problems, and refine the emotional storytelling.
This is where shot lists, storyboards, and pre-visualization tools (like Celtx) become your best friends.
Start with the Script
Before touching a light or camera, the cinematographer reads the script with one key question in mind: What is the emotional arc of this scene?
Scenes are emotional beats, and the lighting should evolve with the emotion, guided by:
- Character intention
- Tension or calm
- Tone shift within dialogue
- Narrative pacing
A character’s face lit with warm daylight in Act I may be swallowed in cold, angled shadows by Act III. The lighting itself becomes part of the character’s journey.
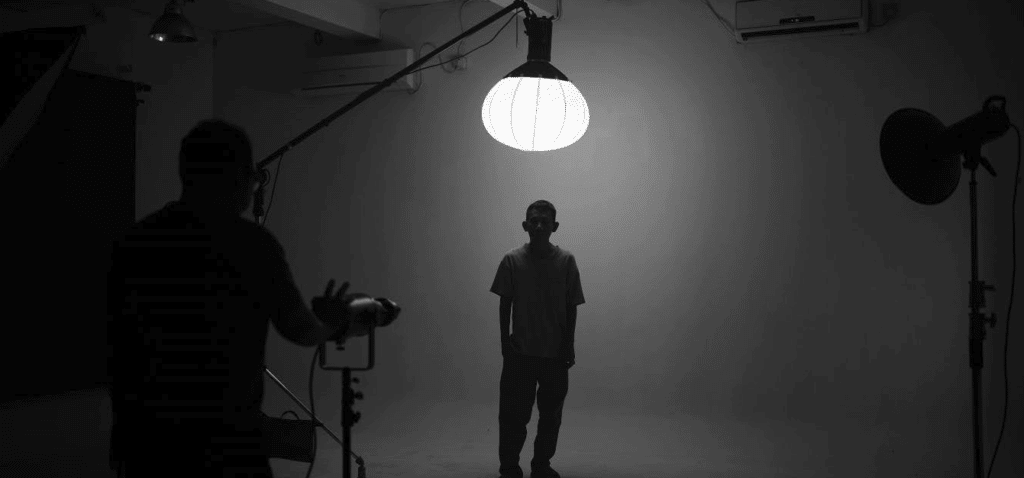
Pre-Visualization with Celtx
Celtx’s Shot Lists and Storyboards allow you to plan this evolution before you ever step on set. Our shot lists help you define:
- Camera angles (which determine light direction)
- Lens choice (long lenses compress light; wide lenses show falloff)
- Movement (lighting must support blocking, not fight it)
Storyboards are also key components of lighting planning. They visually map where lights should be placed relative to:
- Characters
- Windows
- Motivated sources (lamps, neon signs, moonlight, etc.)
When the crew actually sees the lighting plan instead of hearing you talk about it, everything becomes faster and clearer.
For extra visualization of your scenes, you can also block your scenes with our shot blocker tool:
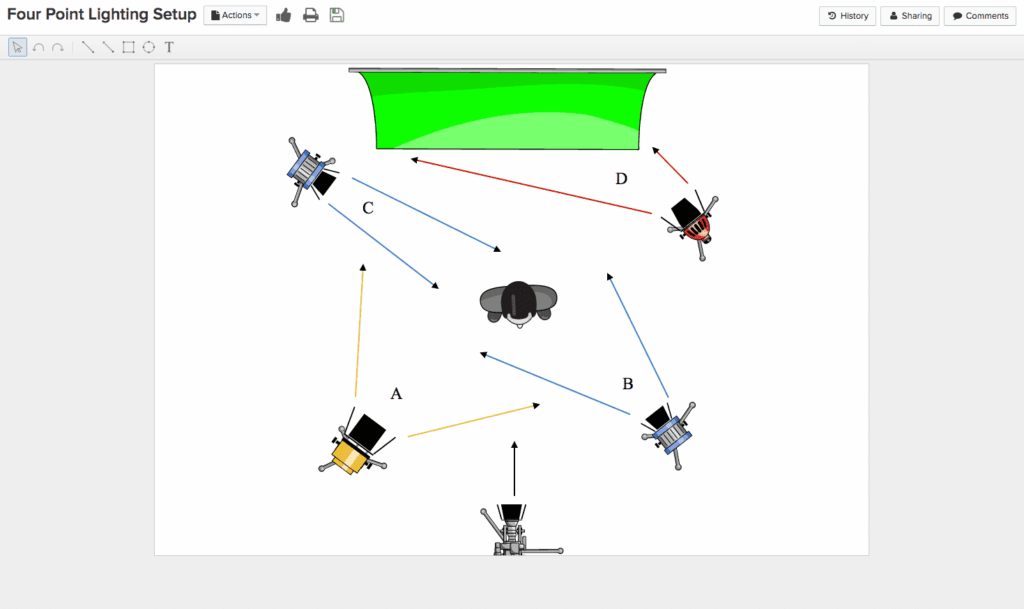
Check out our shot list and storyboard blogs for more on how Celtx can help.
Scout the Location
Never rely on assumptions. Light behaves differently depending on:
- Wall color (white walls explode light; black walls absorb it)
- Ceiling height (can you rig? bounce?)
- Windows
- Time of day (sun direction matters a lot!)
A smart cinematographer walks into a location and immediately looks for where the natural light source is, where shadows fall, and how lighting changes throughout the day.
Then you can decide whether to work with the existing light or replace it entirely.
Create a Lighting Diagram
A lighting diagram is the blueprint for the gaffer and lighting crew. It specifies:
- Light types (softbox, fresnel, LED panel, practicals)
- Intensity levels
- Color temperatures
- Power requirements
- Rigging points and cable runs
It’s less glamorous than color grading montages in behind-the-scenes videos, but this is where the movie truly takes shape.
Why Planning Matters
Planning is essential in any aspect of filmmaking, and this is no different for lighting. So, why should you plan:
- Set time is faster and calmer
- The crew knows what’s coming
- Actors feel supported (not baked under random lights)
- The visual tone stays consistent across shots and scenes
Planning transforms lighting from something you react to into something you control with confidence.
FAQs
Hard light casts sharp shadows and emphasizes texture: it’s dramatic and intense. Soft light diffuses shadows and smooths surfaces, creating a gentle, warm, or dreamlike look.
Motivated lighting is when the artificial lighting is arranged to look like it comes from natural sources in the scene (like windows, lamps, or streetlights), helping maintain realism and visual coherence.
The gaffer is the head lighting technician responsible for executing the cinematographer’s lighting plan. They lead the lighting crew, manage equipment, and shape the practical setup of every scene.
Golden hour is the short period just after sunrise or just before sunset when natural light is soft, warm, and visually flattering. Cinematographers love it; it’s nature’s softbox.
Conclusion
When audiences describe a film as beautiful, often what they’re responding to is the lighting. Light carries tone, shape, emotional subtext, and visual rhythm.
As a cinematographer, you’re not just illuminating scenes but painting the emotional truth of the story. So, master the technicals, study the emotional language, and learn to listen to your story before deciding how to light it.
Ready to master the art of cinematic light? Sign up for Celtx today.
Up Next:
What is a Gaffer? The Chief of Lighting on a Film Set
Once you understand how lighting sets the tone, see how a gaffer brings that vision to life on set—balancing artistry, precision, and teamwork.
