You may have heard people say: “If you notice the editing, it’s probably not very good.”
Okay, so that might sound strange, because why wouldn’t you want people to notice your work? But editing is what gives a film its rhythm, emotion, and clarity, often without ever calling attention to itself. It’s the invisible art that transforms raw footage into a seamless cinematic experience.
And editing is so much more than just cutting shots together. It’s storytelling through rhythm, juxtaposition, and emotion. Editors are there to fine-tune performances as well as sculpt tension and meaning. They focus on not what you see, but how you see it and when.
You could also think of editing as music: each cut is a beat, each transition a change in tempo, each sequence a movement in a larger symphony.
In today’s blog, we’ll be diving into the mind of the film editor and how their role is crucial to the filmmaking process. Follow along as we explore the day-to-day of film editors and the film editing process. We’ll also throw in some top tips on how you can use Celtx to help you edit your very own movie.
Ready? Then let’s go!

The Film Editor’s Purpose
If a director is the film’s visionary, the editor is its architect. The editor’s job is to shape the story’s flow, ensuring that pacing, tone, and emotion all align with the director’s vision. Sometimes, the editor may even save that vision!
Here’s how:
Pacing
Pacing is about speed and rhythm. Editors control how long the audience sits with a moment, whether it’s the tight, rapid cuts of an action sequence or the lingering stillness of a dramatic pause. Too fast, and the story feels rushed. Too slow, and it drags. The editor finds that balance point where the story breathes naturally.
Performance
While the actors bring performances to life on set, the editors are the ones who refine them in post-production. A single reaction shot, a cutaway, or even trimming a few frames can make a performance stand out exponentially.
Editors often discover the “truth” in a scene; that flicker of emotion between lines or a subtle glance that captures a character’s soul.
Emotion
Ultimately, editing is emotional architecture. The way shots connect determines how an audience feels. A sudden cut can shock us while a dissolve can soothe us. A lingering close-up can break our hearts.
The editor is our emotional guide through a story, deciding where we look, what we feel, and when we feel it.
The Editing Process: A Step-by-Step Breakdown
Editing a film is rarely linear, ironically, given the term Non-Linear Editing (more on that later on).
But there’s a general workflow that almost every editor follows. Let’s break it down.
Step 1 | The Assembly Cut
This is the editor’s first pass and is the roughest and broadest version of the film. The editor assembles all the scenes in the order of the script, using every take and angle that might be relevant. There’s no concern for pacing or perfection here; the goal is simply to see the film in its raw format.
It’s often too long and messy, and that’s what’s great about it; it’s full of possibilities. Think of it as the block of marble before the sculpting begins.
Step 2 | The Rough Cut
Once the full story is assembled, the editor begins to carve into their piece of marble (the movie).
During the rough cut, the editor removes unnecessary shots and tightens scenes. As they work, they see the emotional spine starting to take shape. This is where pacing and continuity become the focus and where the story starts feeling like a movie rather than a collection of clips.
At this stage, editors will often work closely with the director to explore different interpretations of scenes: Should this moment come earlier? Should we cut away sooner? What if we hold that shot longer for emotional impact?
Step 3 | The Fine Cut
This is where an editor’s talent and creativity really shine. By now, the story is solid, and every cut is deliberate. Next, it’s time to fine-tune the rhythm, tweak transitions, and perfect performances frame by frame. It’s at this stage where music and sound begin to play a larger role.
Stage 4 | Picture Lock
When both the editor and director agree that the edit is final, the project reaches picture lock. From this point, no more changes are made to the visual sequence. The film is now ready for color grading, sound design, visual effects, and final mix.
It’s called “lock” for a reason; change one shot after this point, and you can throw off every other department. For an editor, picture lock is both a relief and a little heartbreak. You’re done… and you have to let go.
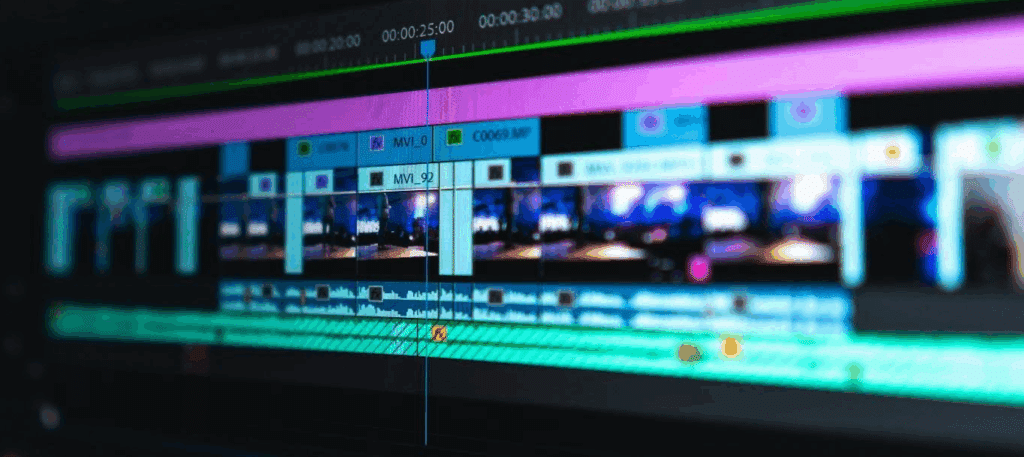
The Tools of the Trade: NLEs in Action
Gone are the days of cutting film with scissors and tape (though we applaud those editors for their service; they truly were heroes!).
Today, editors work on Non-Linear Editing (NLE) systems. These are powerful pieces of software that allow endless flexibility when it comes to rearranging footage.
Let’s take a look at a few of the industry staples:
Adobe Premiere Pro
Beloved by independent filmmakers and YouTubers alike, Adobe Premiere Pro’s integration with After Effects and Photoshop makes it versatile and efficient.
Adobe Premiere Pro also integrates with Celtx. Read more about it here.
Avid Media Composer
The old-school powerhouse of Hollywood. Avid Media Composer is renowned for its rock-solid media management and collaborative workflows. It’s still the go-to for major studio films.
DaVinci Resolve
Once known primarily for color grading, DaVinci Resolve has evolved into a fully-fledged NLE with professional editing, sound, and VFX tools included. With all of its added features, it has garnered an increasingly loyal following.
Each system has its own philosophy and feel, but the principles of editing remain the same: storytelling, rhythm, and emotion. Usually, editors will have their personal preference as they gain more experience. For example, editor Jamie Boyle is all about using Adobe Premiere Pro. Find out why here.
Film Editing Techniques 101
Editing is like grammar for visual storytelling with each technique carrying meaning and emotional subtext.
Here are a few essential ones every editor should master:
Montage
A montage compresses time and space to show a series of related actions. Think Rocky’s training sequences or an artist preparing for an exhibition.
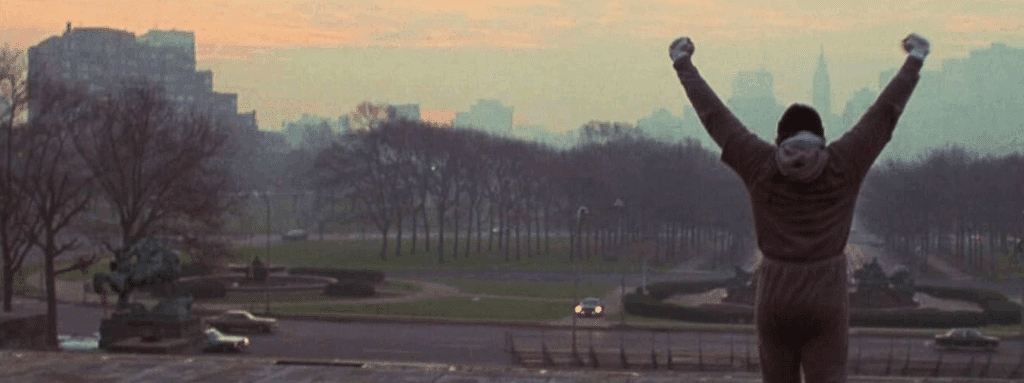
Montages create momentum, showing progress or change without bogging down the story. They can be great in fast-tracking exposition in a visually interesting way. Done right, a montage can almost feel like visual poetry!
For more on how to create the perfect montage, click here.
J-Cut
In a J-cut, the audio from the next scene begins before the visual cut happens. It gently leads the audience into the next moment, creating a seamless and natural transition.
J-cuts are perfect for dialogue scenes or emotional shifts, where the sound bridges one scene into another.
L-Cut
The opposite of a J-cut. Here, the audio from the previous scene continues after the picture cuts to a new one. It allows emotional or narrative resonance to carry forward, like hearing a character’s final words while we cut to what those words affect.
Jump Cut
The jump cut intentionally breaks continuity, skipping forward in time or space within the same shot. Popularized by the French New Wave (think Jean-Luc Godard’s Breathless), it’s often used for stylistic or comedic effect. But it can also convey disorientation, urgency, or internal chaos.
Each of these techniques affects how a story feels. The right cut can make the difference between tension and confusion, connection and indifference. The editor is the one who decides when these transitions happen and why, in collaboration with the director.
Want to know what it’s really like in the editing suite? Check out Los Angeles Film School’s insightful interview with film editor Jim Carretta.
Celtx and the Edit: Organizing the Chaos
Before editing even begins, good organization is everything. That’s where tools like Celtx come in.
Okay, we know we’re not an editing platform! But our awesome pre-production tools help filmmakers plan, break down, and track every piece of their project. And for editors, that prep work is pure gold.
Celtx’s breakdown tools identify every element in a scene from cast and props to locations and camera setups. When the footage finally lands in the editor’s hands, they can cross-reference shot lists, scene numbers, and notes to ensure nothing’s missing.
In short: Celtx helps editors stay organized, instilling confidence that every piece of the puzzle is accounted for.
We’re the ones who bridge the gap between production and post-production, creating a workflow where creativity doesn’t get bogged down by chaos. Because when your timeline’s neat, your mind is clear.
FAQs
The Kuleshov Effect, named after Soviet filmmaker Lev Kuleshov, is one of the foundational principles of film editing. Kuleshov demonstrated that audiences derive meaning not from individual shots, but from the juxtaposition of shots.
For example, if you show a man’s neutral face, then cut to a bowl of soup, audiences think he’s hungry. Cut the same face to a coffin, now he looks sad. The performance doesn’t change but the context does. That’s the power of editing: it creates meaning through association.
A jump cut is an abrupt transition between shots that breaks the illusion of continuous time or space. Instead of a smooth flow, the audience “jumps” ahead, often seeing the same subject in a slightly different position.
It can feel jarring, but when used intentionally, it injects energy, surprise, or tension. You’ll see jump cuts everywhere from YouTube vlogs to French New Wave cinema.
Before touching the timeline, a film editor organizes. They sync footage, label takes, and create bins or folders for scenes, audio, and assets. A clean workspace saves hours later and makes creative decision-making smoother.
It’s only once everything’s in place that the editor will begin building the assembly cut, laying the foundation for the story to emerge.
An assistant editor is the unsung hero of post-production. They handle the technical side by organizing footage, syncing audio, preparing dailies, and ensuring the project runs smoothly behind the scenes.
The editor, meanwhile, focuses on storytelling. They choose the takes, shape the performances, craft pacing, and refine the emotion in every single shot. In big productions, editors and assistants work hand-in-hand. Some ensure the system runs flawlessly, while others ensure the story sings.
For more on the Kuleshov Effect:
Conclusion
Editing is where movies are truly written (again!). It’s the phase where accidents become new discoveries, performances find their heartbeat, and structure becomes story.
Think of it this way: if a script is a blueprint and a shoot is raw material, editing is where it all comes alive. It’s the invisible art that shapes what we feel and remember long after the credits roll.
So next time you’re lost in a movie and forget the world around you, take a moment to appreciate the unseen hands guiding your eyes and emotions. Because somewhere, in a dimly lit editing suite, an editor crafted that experience cut by cut and frame by frame.
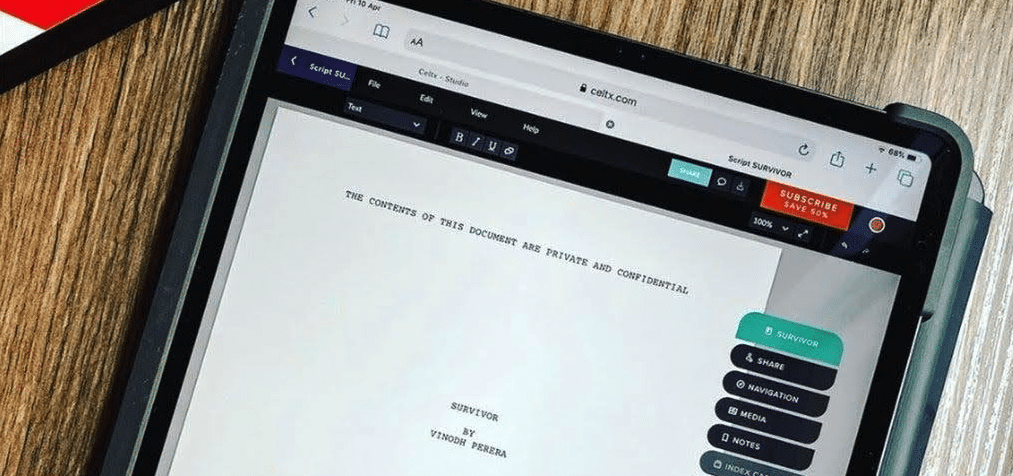
Focus on your story, not your formatting.
Let Celtx’s Script Editor automatically apply all industry rules while you focus on the story.
Up Next:
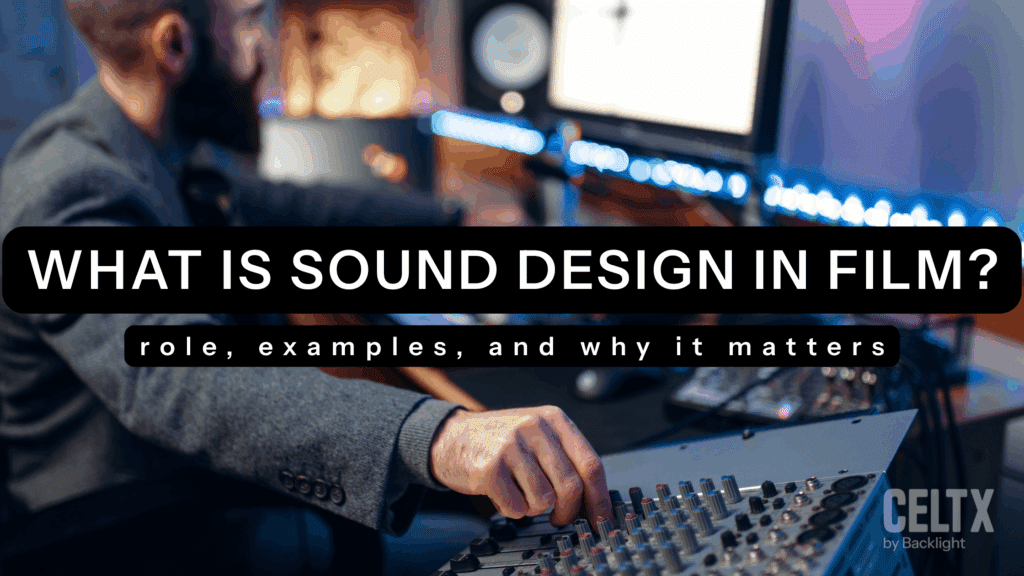
What is Sound Design in Film?
Once your visuals are in place, it’s time to perfect the sound. Discover how audio elements enhance emotion, build atmosphere, and complete your film’s storytelling.