Introduction
Silent filmmaker Paul Rotha once said, “No power of speech is comparable to the descriptive value of photographs”, citing dialogue as “doing violence to natural instincts”.
There is no doubt that silent films are the starting line of the film industry and play a vital role in how cinema is made today. With a complete lack of dialogue and minimal physical camera movement, early filmmakers were forced to think outside the box.
The movie script was at the forefront of overcoming the complexities of such limitations. From structuring the script in the first instance, ensuring all scenes were relevant in driving the plot forward, to experimenting with flashback and continuity.
It could be argued that the charm of the silent film is in its ‘purity’ and how it portrays human emotion. Alfred Hitchcock would certainly agree, his work an analysis on emotional responses of human beings.
In 1970, he declared himself not interested in the content itself but in “how to handle the material to create an emotion in an audience”. When we think of how humans show emotion, the first element that comes to mind is the facial expression and the body language, and then their words, if they speak at all, that is. What we say does not always evoke what we actually feel, and thus can be deceiving.
Emotions are more complex than just a few words in real terms, so this should also be the case in film and dialogue. This is what silent movies do extremely well, and also in silent scenes when we think of more modern filmmaking.
Film director, Hitchcock reluctantly made the move to sound in films but found ways to replicate his silent movie successes in his later works. For example, you may have heard of the infamous shower scene in Hitchcock’s 1960 movie, Psycho. No dialogue is needed due to the intensity and craftsmanship of the visuals. Music is used to heighten the impact of the scene, but not a word is uttered.
Crafting a silent scene or indeed an entire silent movie is a fantastic exercise for students to undertake to understand entirely visual storytelling.
Understanding Visual Storytelling
Visual storytelling is what it says on the tin, a story told through visual mediums. This could be film, illustration, photography etc.
When we talk about movie-going we always refer to ‘seeing’ a movie, therefore the visuals are the most important element when it comes to filmmaking. Starting of course, with the script where the writer conveys complex emotions and thoughts with as little dialogue as possible.
This is a key lesson for students to understand. They can have the quippiest dialogue, the most diverse range of well-rounded and authentic characters, or even the most exhilarating action sequence planned, but it’s how this is executed in visuals that is most important.
Syd Field cites Orsen Welles’ Citizen Kane as a prime example of successful visual storytelling, most specifically in the opening scenes: “From the very first frame, the full portrait of Kane’s character is set up visually; the film opens shrouded in fog and the first thing we see if a high wired chain-link fence…a huge, isolated mansion stands high on the hill.” (pg. 51, 2005) This is before a word of dialogue is uttered.
Visual storytelling is of course, not purely pictures, but is enhanced by music and dialogue. It is crucial that students understand the impact of visual storytelling and how they can successfully execute it in their own work.
An ideal exercise to begin with is to allow your students to experiment with silent scene writing, with no sound or dialogue whatsoever. Celtx has some fantastic resources to assist them in doing just that!
Using Celtx for Silent Scene Writing
Celtx is not just for script writing, but for the entire planning process. Let’s take a look at the tools Celtx offers for your students to plan out their silent scenes.
Storyboarding
Our storyboarding tool is a fantastic way for students to plan out the visual impact of their scenes and how they envision the scene to play out.
Storyboarding isn’t just for cinematographers and directors. Oh no, they can be a useful tool for students to visualize a scene through the eyes of the audience and inspire strong visual storytelling.
So, how do students access the storyboarding tool from their Celtx account?
First, click on the project you’d like to storyboard or create a new one. For this example, we’ll use the project, Midnight.
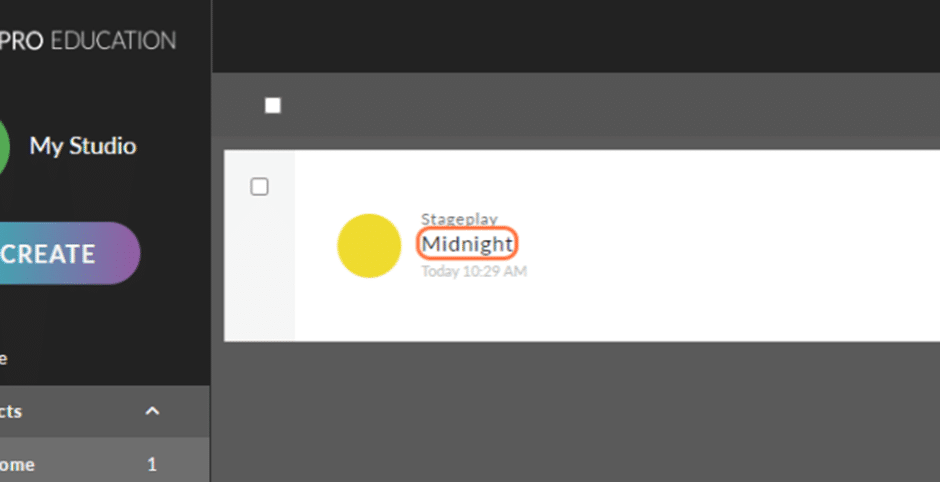
In the left-hand menu, select Storyboard.
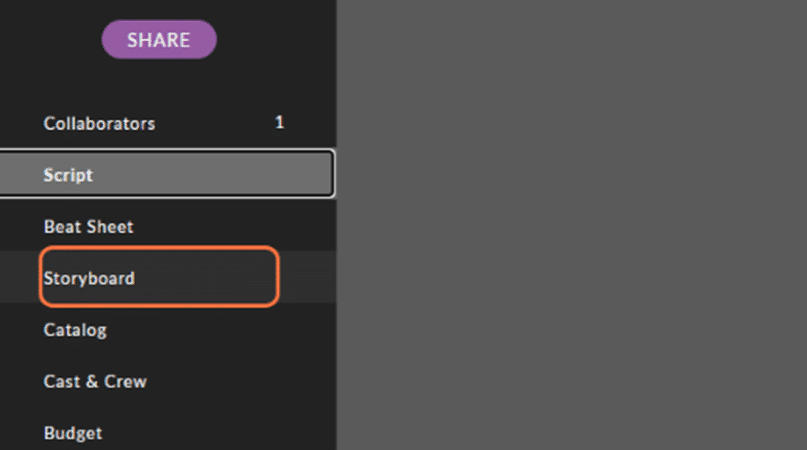
The blank storyboard screen will then appear where students can begin to visualize their scene.
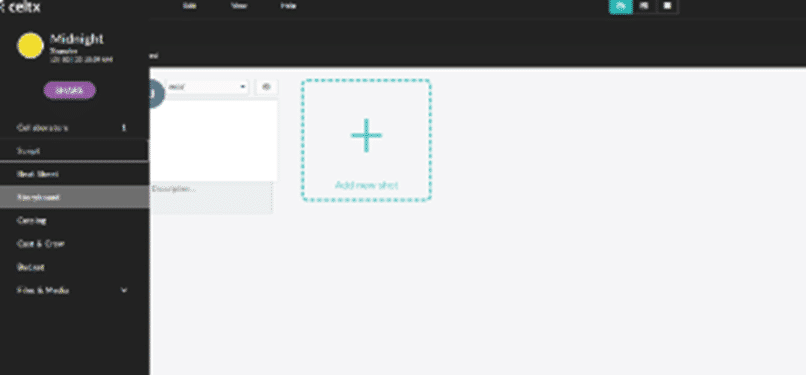
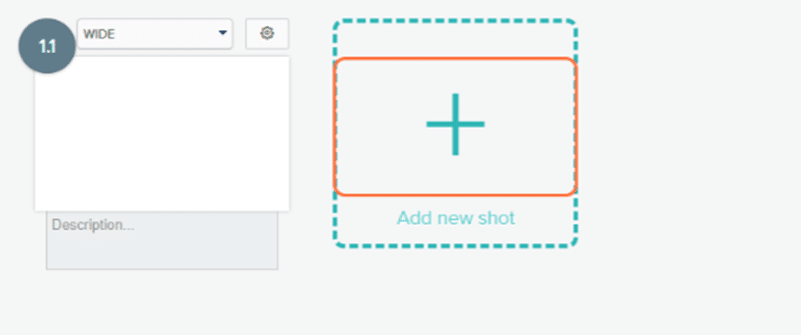
Now it’s time for them to add their first shot. Click Add New Shot.
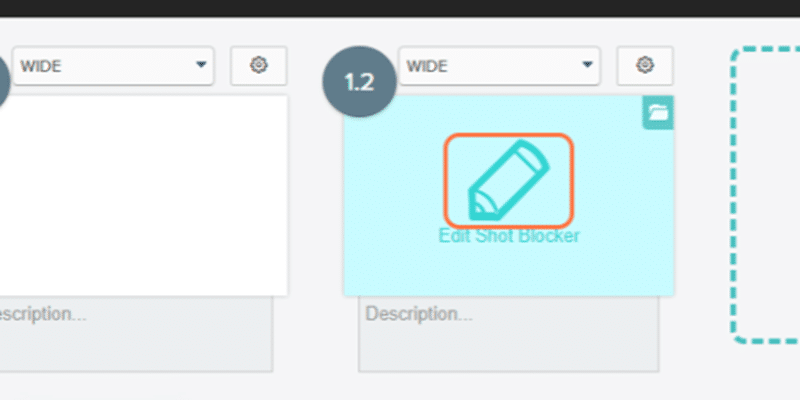
Next, they’ll need to edit the blank shot and add their visual elements. Click Edit Shot Blocker.
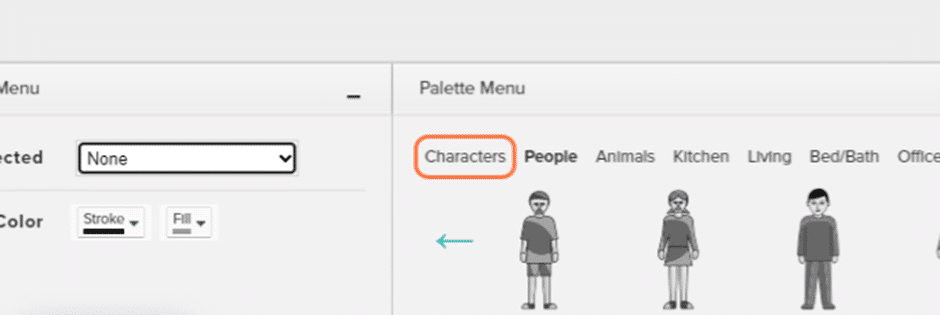
Now at the bottom of the screen, students will see all the visual elements available to add to their scene. From characters and animals to set pieces.
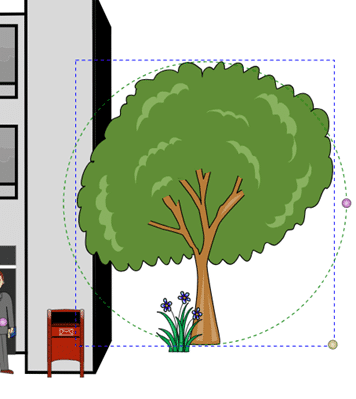
Here is a rudimentary example of how elements could be arranged on the page.

Each element can be moved around, made bigger or smaller, and rotated using the yellow and purple dots.
Students can also play around with the layering of the elements in the foreground and background of scenes using the Select Menu in the bottom left-hand corner.
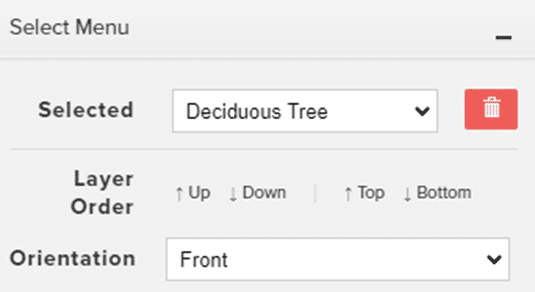
No one needs to be an artist to create these storyboards; as screenwriters, your students can use them to clearly visualize their scenes. They can also be reference points for your students to draw from. How can they economically describe this scene? What is happening between these characters that a writer can convey using visuals and action only? No dialogue.
Beat Sheet
If your students prefer to write down their thoughts, the Beat Sheet tool is another fantastic way to plan out a scene.
Once again, students will need to access the left-hand menu. This time, click on Beat Sheet.
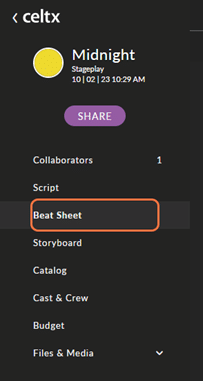
Then the beat board will appear with three pre-loaded sections: the Setup, the Confrontation, and the Resolution. Whether a silent or non-silent scene, these three touch points of a scene are crucial, guiding your students into the composition of their own scenes.
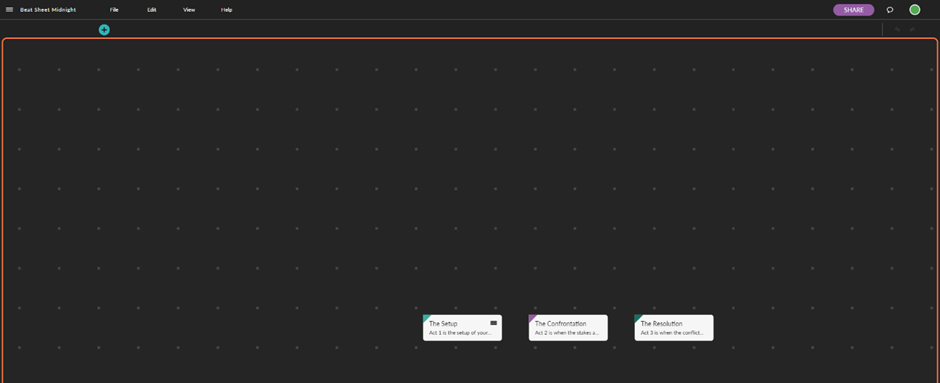
To edit each plot touch point, students will need to double click on their chosen one.
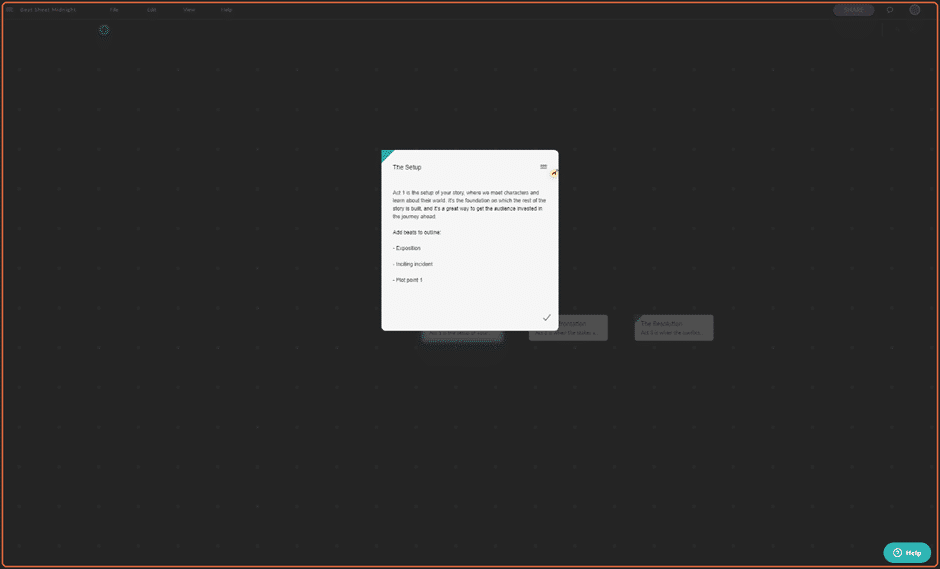
A fully editable window will appear, allowing students to write in the details of the Setup. They could do this for the entire plot of a script, or just for a single scene. More beats can be added by clicking +.
Of course, the beat sheet window can also be used in the more traditional sense to map out the story beats for an entire movie, TV pilot, play or novel. Find out more about story beats here.
Files and Media
Inspiration and creativity come from many different places. Students can import any supplementary material they like into Celtx for easy access. To do this, they’ll once again need to head to the left-hand menu and click on Files & Media.
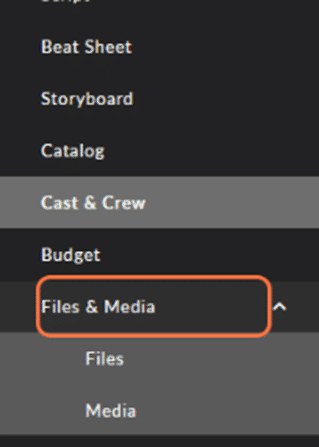
Then click on Files.
Here you’ll see we have an image and PDF file. At this point, we cannot see the image file. Let’s organize it into a gallery.

Return to the left-hand menu and click on Media.
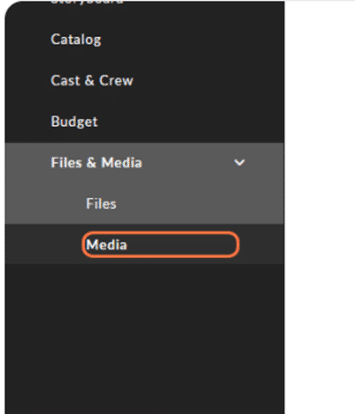
To add an image or video, click on the turquoise + symbol.

Then click on Upload.
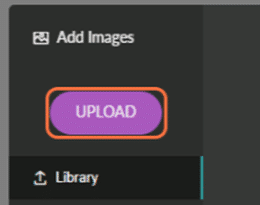
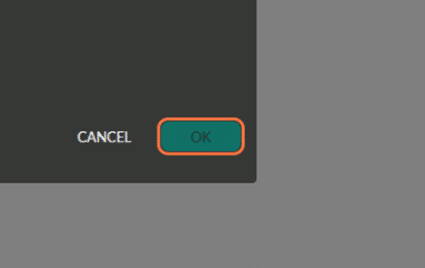
Students will then select which files they would like to upload from their documents. Once chosen, click OK.
It is also possible to add a description and relevant tags to images and videos. Simply click on the image.
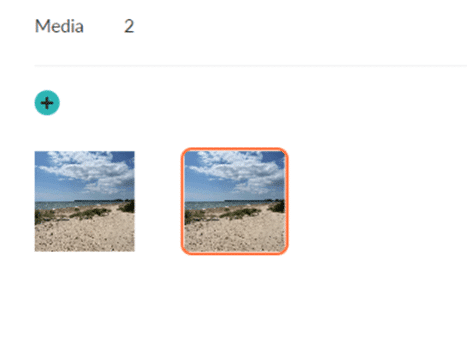
Then select the Pencil Icon to edit and finally, type away in the description and tags boxes.
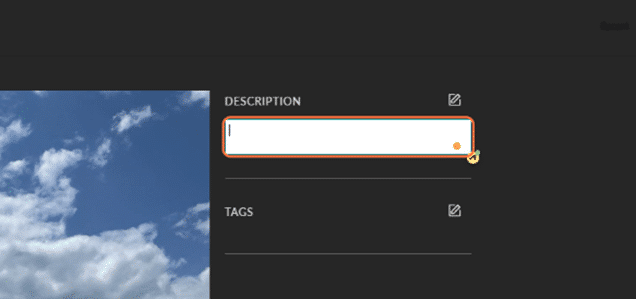
You’ll notice that all the tools and resources we’ve discussed are focused on visuals. Images, videos, and diagrams to support students in writing their silent scenes in the most effective way possible.
How to Write a Silent Scene
Once your students have gathered their inspiration using Celtx’s tools, it’s time for them to start writing.
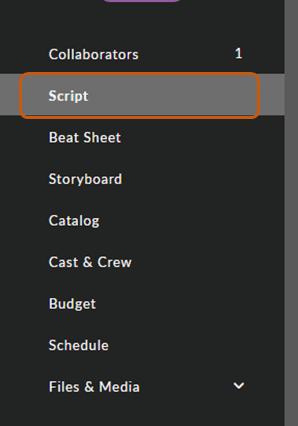
Returning to the left-hand menu, click on Script.
A blank screen will then appear, ready for your students to begin their scene.
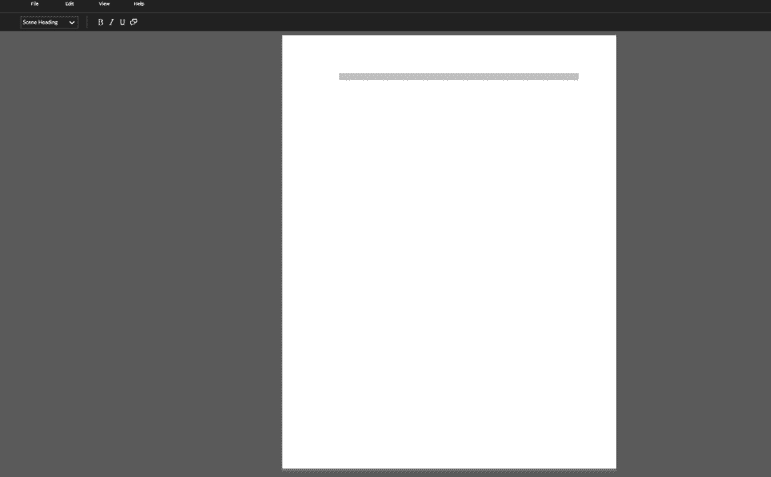
Celtx has a built-in formatting system which automatically assigns each part of a scene and formats it to industry standard. Alongside the creative aspects of screenwriting, Celtx supports the practical side and ensures students are confident in how to format and layout their scripts.
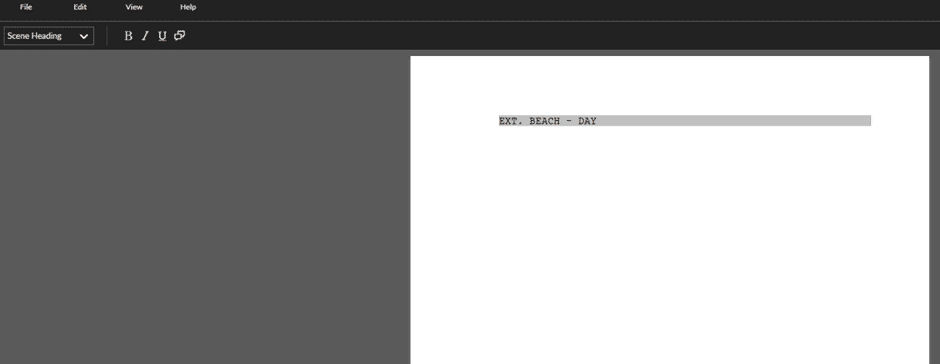
First is the scene heading, detailing the location of the scene.
In this instance, let’s take inspiration from the photograph of the beach we used earlier on in the article.

EXT. BEACH – DAY
Following the scene heading, students will set the scene. Now, this is where screenwriting differs from novel and prosaic writing; students need to take care not to over-describe the scene. We’re not describing the blue sky or the grainy sand, but the action that is occurring and the reactions of the characters.
Perhaps the waves are choppy, causing a character to stumble in the sea. Or there could be gale-force winds whipping across the sand, making it difficult for a character to walk across.
A concise set up of the surroundings is encouraged, but students mustn’t be writing paragraphs of description to introduce the scene. Any description should be setting the ambiance of the scene.
The moon casts an eerie silver light on the dark ocean waters, a flash on a silver watch on a thick wrist. The CRASH of waves fills the air, smashing along the beach.
The watch is raised, the eyes of a lone figure JAMES, fall on the time: 1am. He paces nervously along the shoreline.
Notice we’ve peppered the action into the description itself. We’re setting the atmosphere in conjunction with introducing our protagonist, James.
Now it’s time to continue the action, showing the emotion of the scene through body language and facial expressions, as Hitchcock and so many other filmmakers once did, and still do.
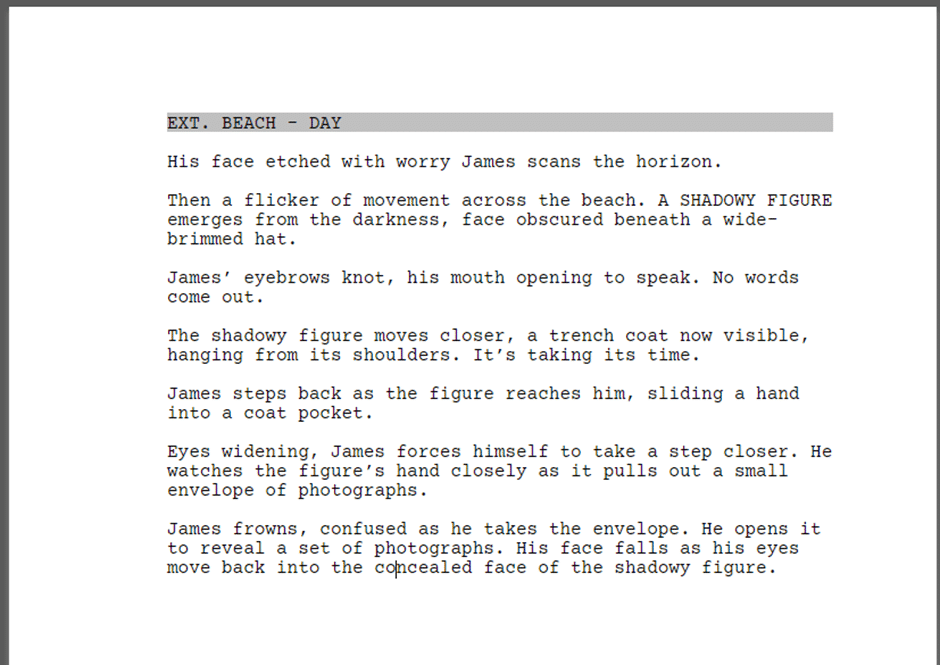
His face etched with worry James scans the horizon.
Then a flicker of movement across the beach. A SHADOWY FIGURE emerges from the darkness, face obscured beneath a wide-brimmed hat.
James’ eyebrows knot, his mouth opening to speak. No words come out.
The shadowy figure moves closer, a trench coat now visible, hanging from its shoulders. It’s taking its time.
James steps back as the figure reaches him, sliding a hand into a coat pocket.
Eyes widening, James forces himself to take a step closer. He watches the figure’s hand closely as it pulls out a small envelope of photographs.
James frowns, confused as he takes the envelope. He opens it to reveal a set of photographs. His face falls as his eyes move back into the concealed face of the shadowy figure.
No dialogue is used, but we allude to how James is feeling by the way he acts e.g., stepping away from the figure, or the knotting of the eyebrows.
See how your students fair!
Conclusion
As you can see, Celtx’s tools and resources have multiple uses and applications. We thoroughly encourage students and teachers to get creative and make Celtx their own when it comes to crafting and writing their own screenplays and film/television projects.
After all, screenwriting and filmmaking is all about creativity. From idea inception, to developing characters, crafting an engaging and exciting plot, to filming, editing, and marketing, no two projects are the same.
So, how will your students use Celtx to bring their idea to life? Check out our selection of blogs all about Celtx and how we help unlock screenwriters’ potential!
Citations
Psycho (1960)
Field, S., 1982. Screenplay (p. 10). New York: Delacorte.
https://nofilmschool.com/love-silent-films
